Upgrading the SAR application? Please read important notes before doing so.
Introduction
The pause and resume feature allows agents to pause and resume a call recording during a call with a customer. This feature is useful when a customer is providing sensitive information over the phone.
Installation guide
To enable this feature you will need to install a serverless application within the AWS Serverless Application Repository.
Sign in to your AWS account, then search for and select the Serverless Application Repository service.
Make sure you are in the same region as your Connect instance.
Click on Available applications.
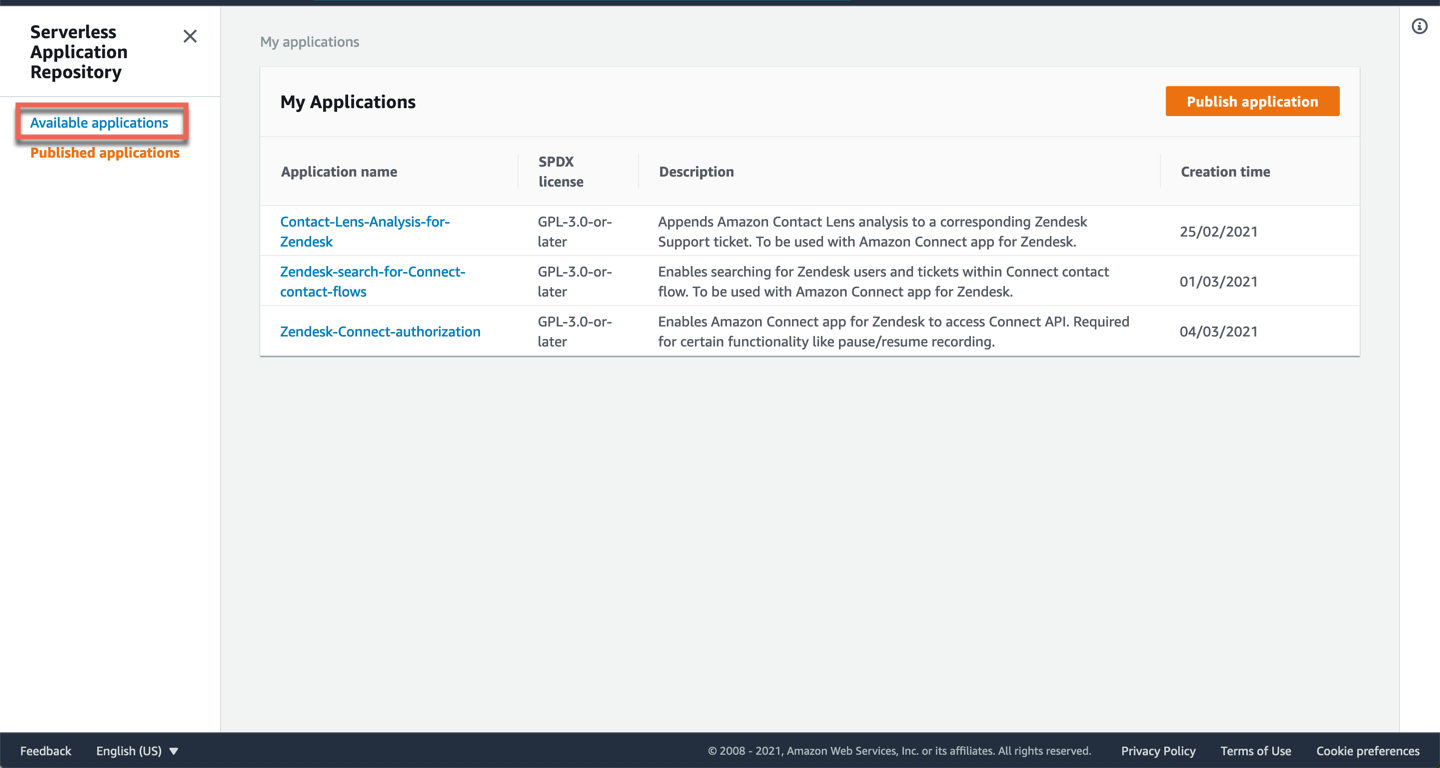
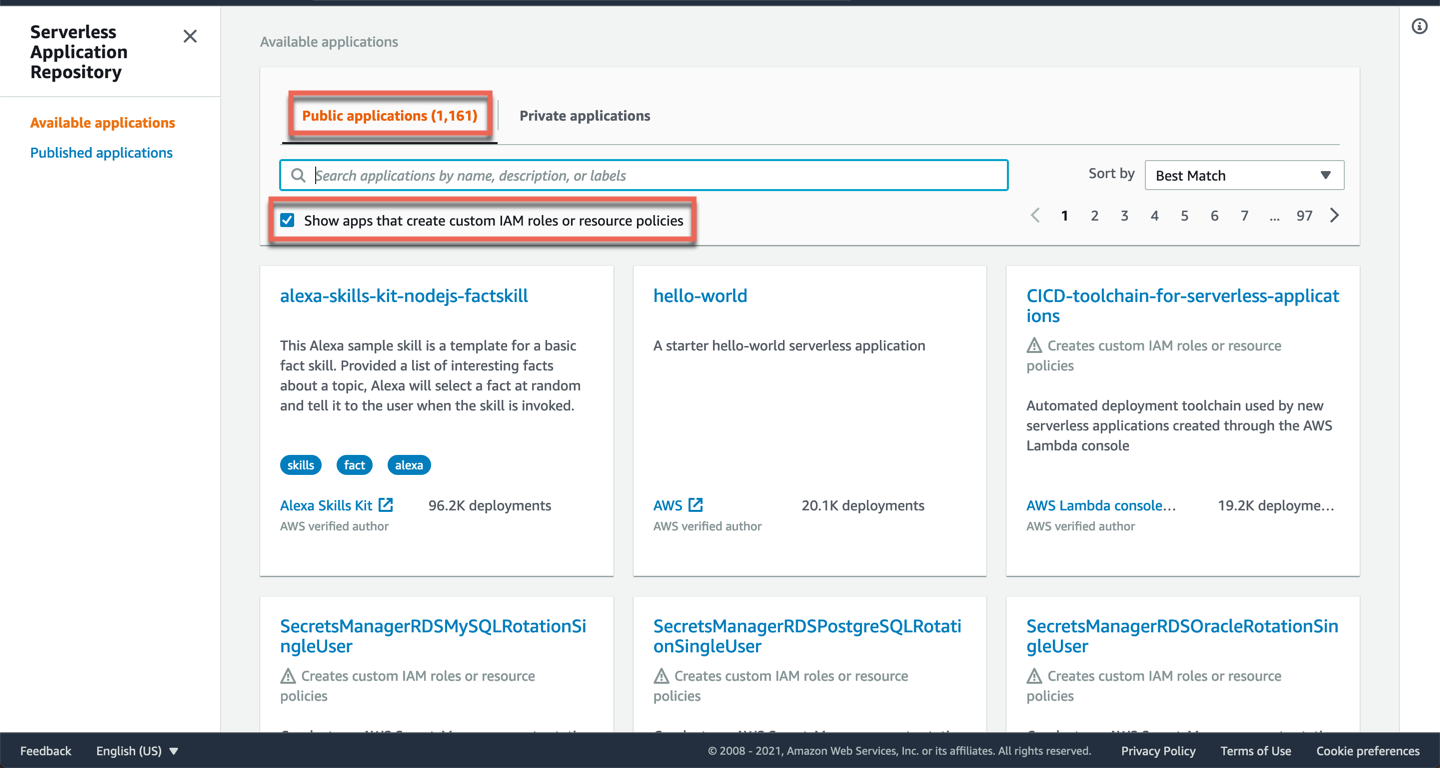
Under Public applications, select the checkbox Show apps that create custom IAM roles or resource policies.
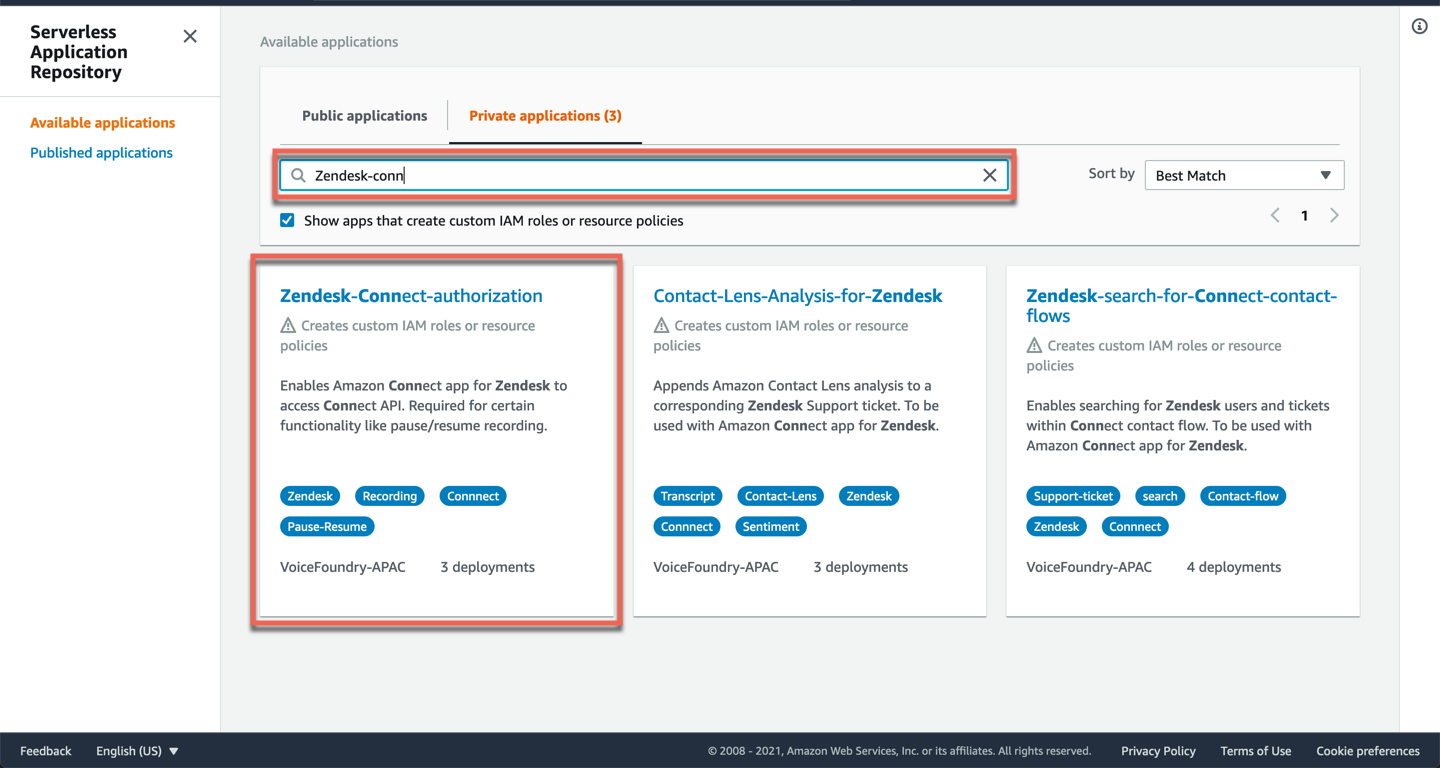
Search for and select Zendesk-Connect-authorization.
Scroll down to Application settings and enter the following information:
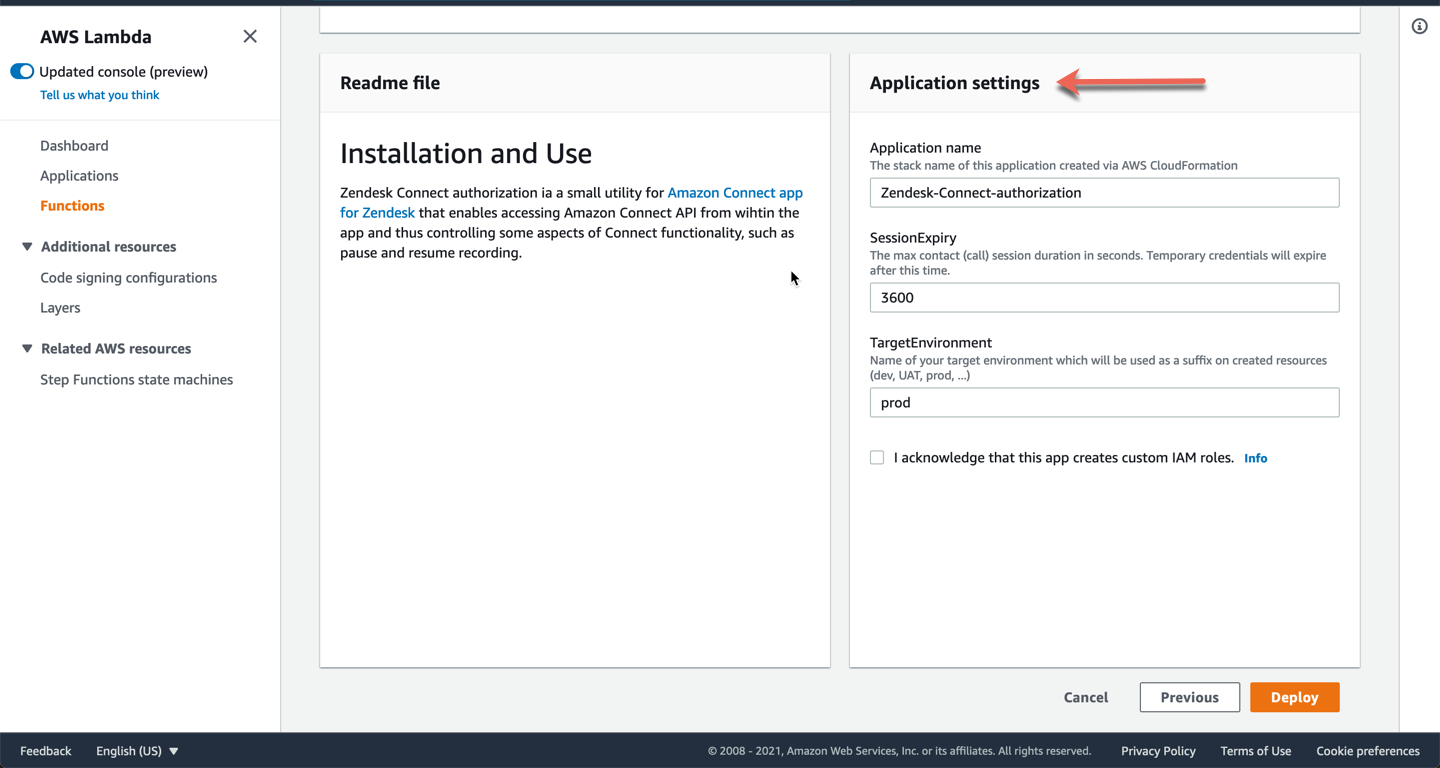
Application name
Leave this as is.
SessionExpiry
The lambda created within this stack is required to gain access to the Connect API which facilitates the pause and resume functionality. This access is temporary and the amount of time you set in this field determines the expiry timeframe of this credential. If a call goes over the time specified in this field, the pause and resume functionality will no longer work.
TargetEnvironment
This is the name of your target environment (dev, UAT, prod etc). If unsure, just leave as prod.
Select the checkbox to create custom IAM roles and click on Deploy.
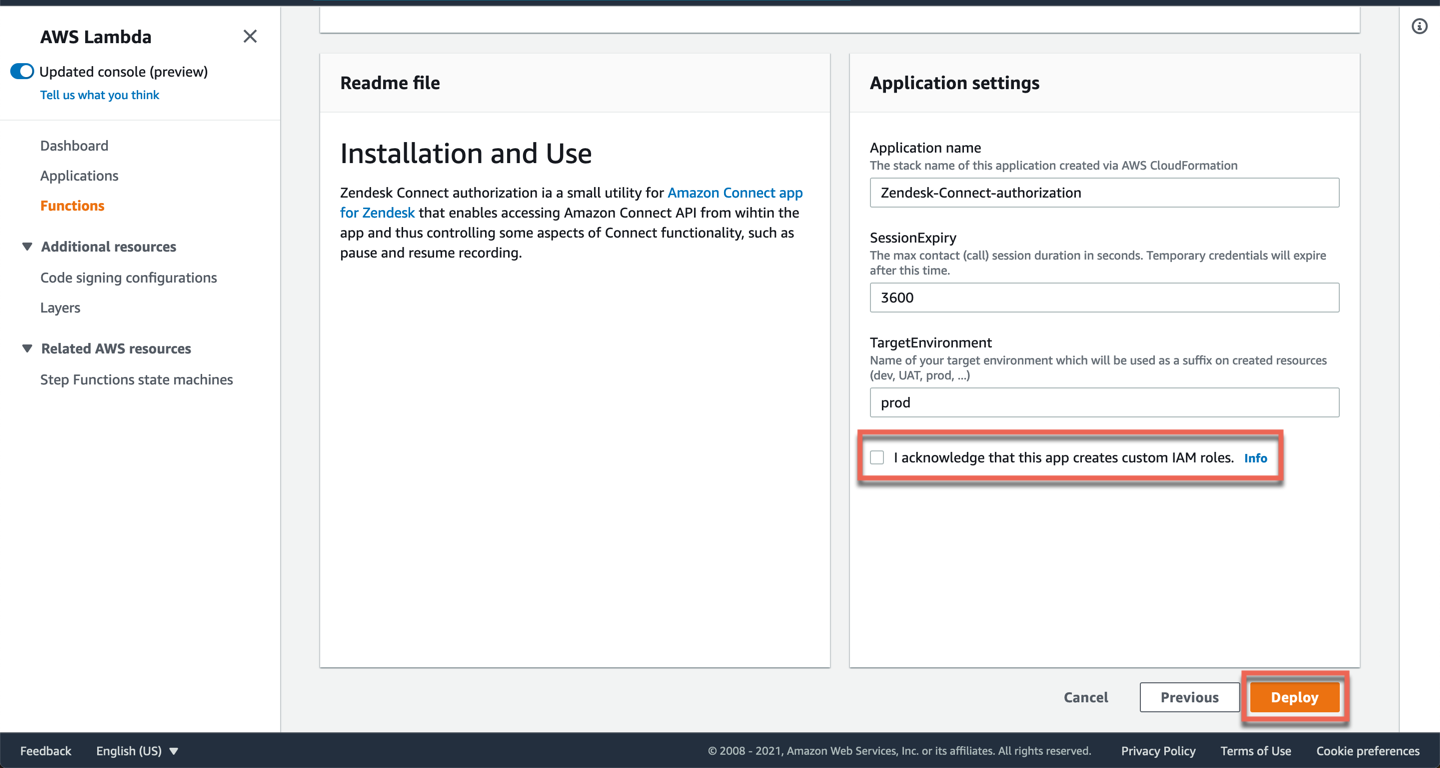
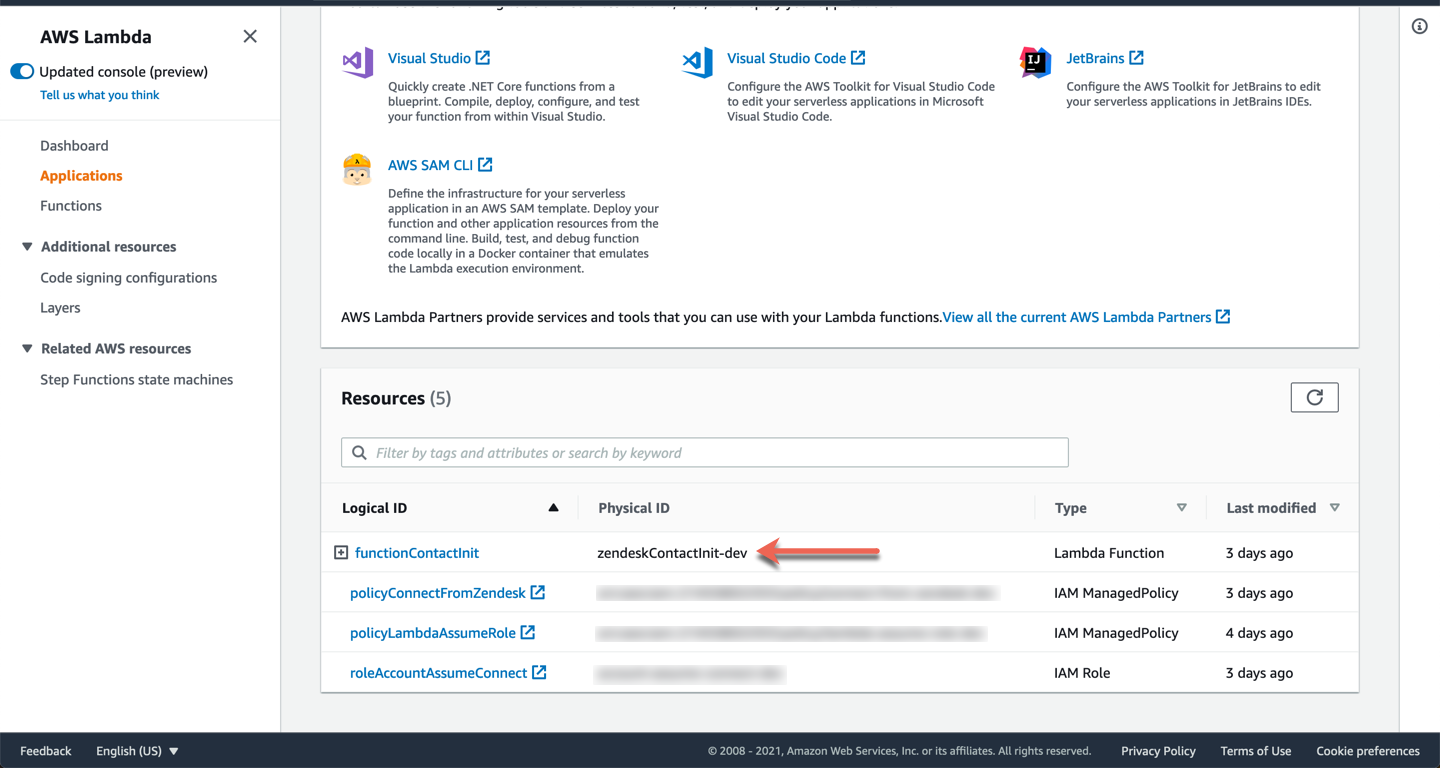
Once your stack has been successfully created, scroll down and take note of the lambda name.
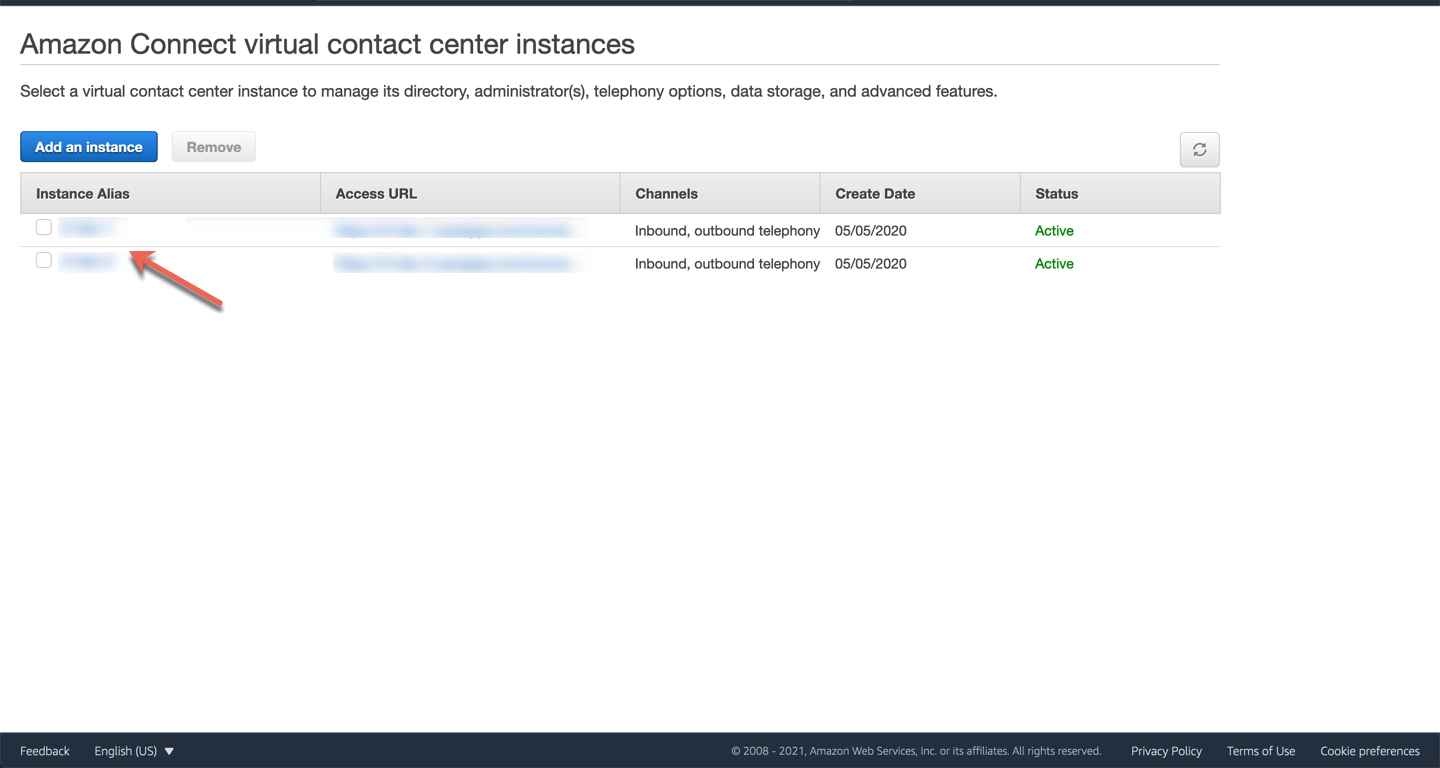
In your AWS account, search for and select Amazon Connect. Click on your Amazon Connect instance.
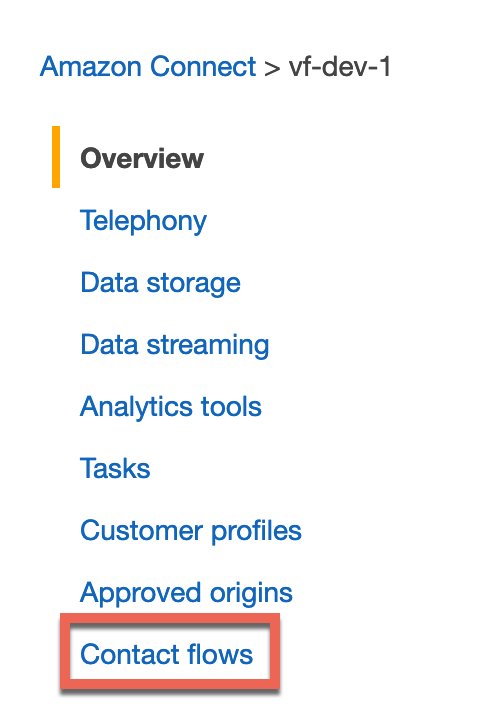
Click on Contact flows.
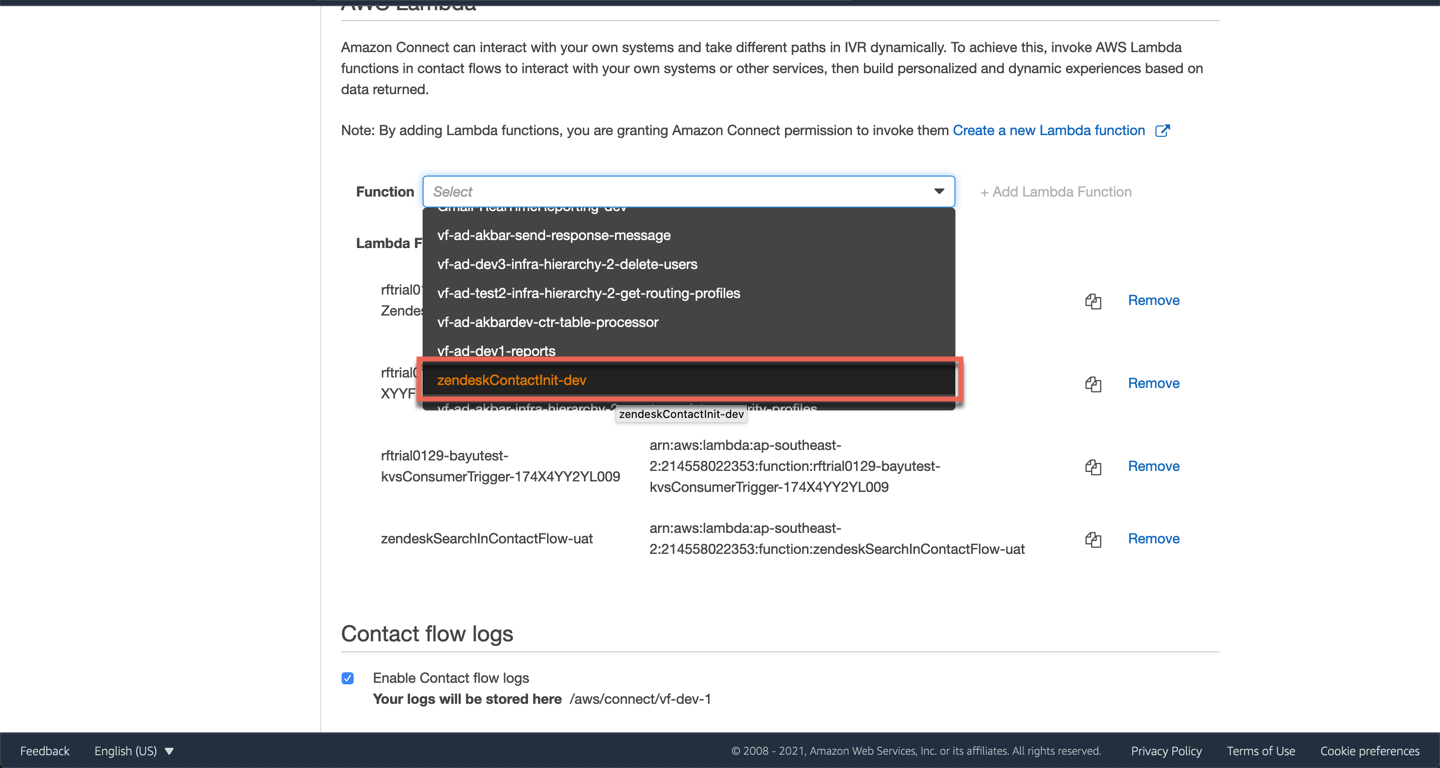
Under AWS lambda, click on the Function dropdown and select the lambda that was created during the stack.
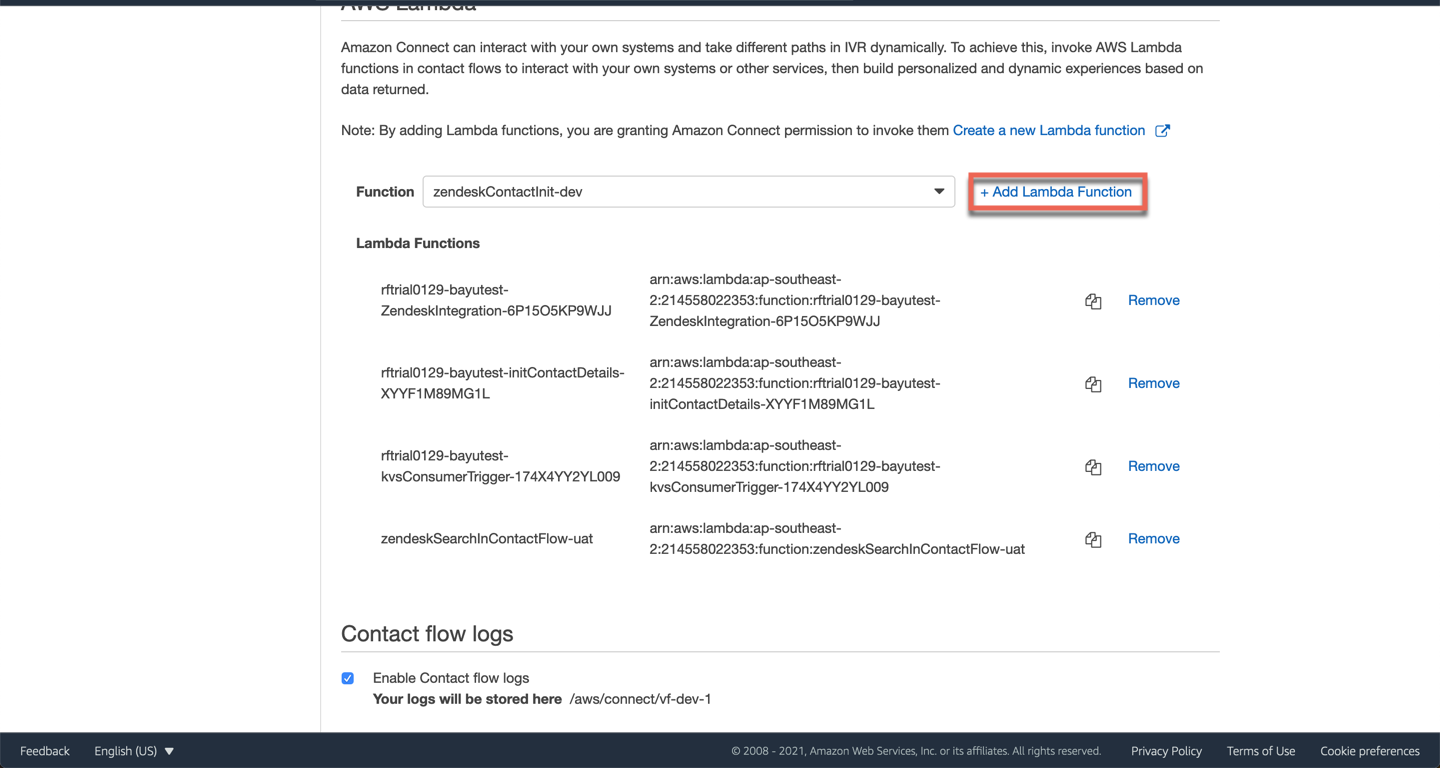
Click on Add lambda function.
Your next step is to add the above lambda to every contact flow that you would like to enable pause and resume. See below for detailed steps. You can also use the supplied contact flow module.
Ensure that you have enabled call recording through the Set recording and analytics behavior block in each of your inbound and outbound contact flows.
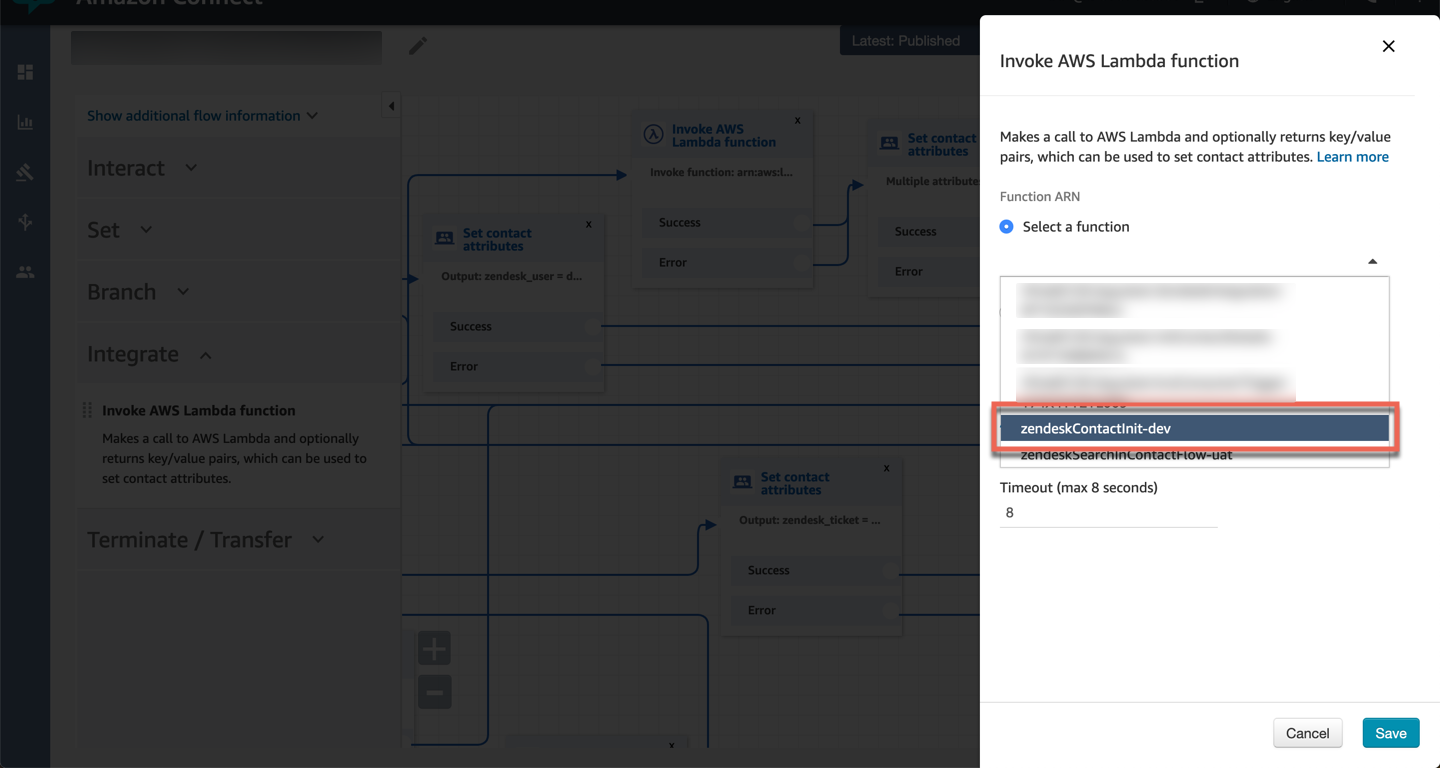
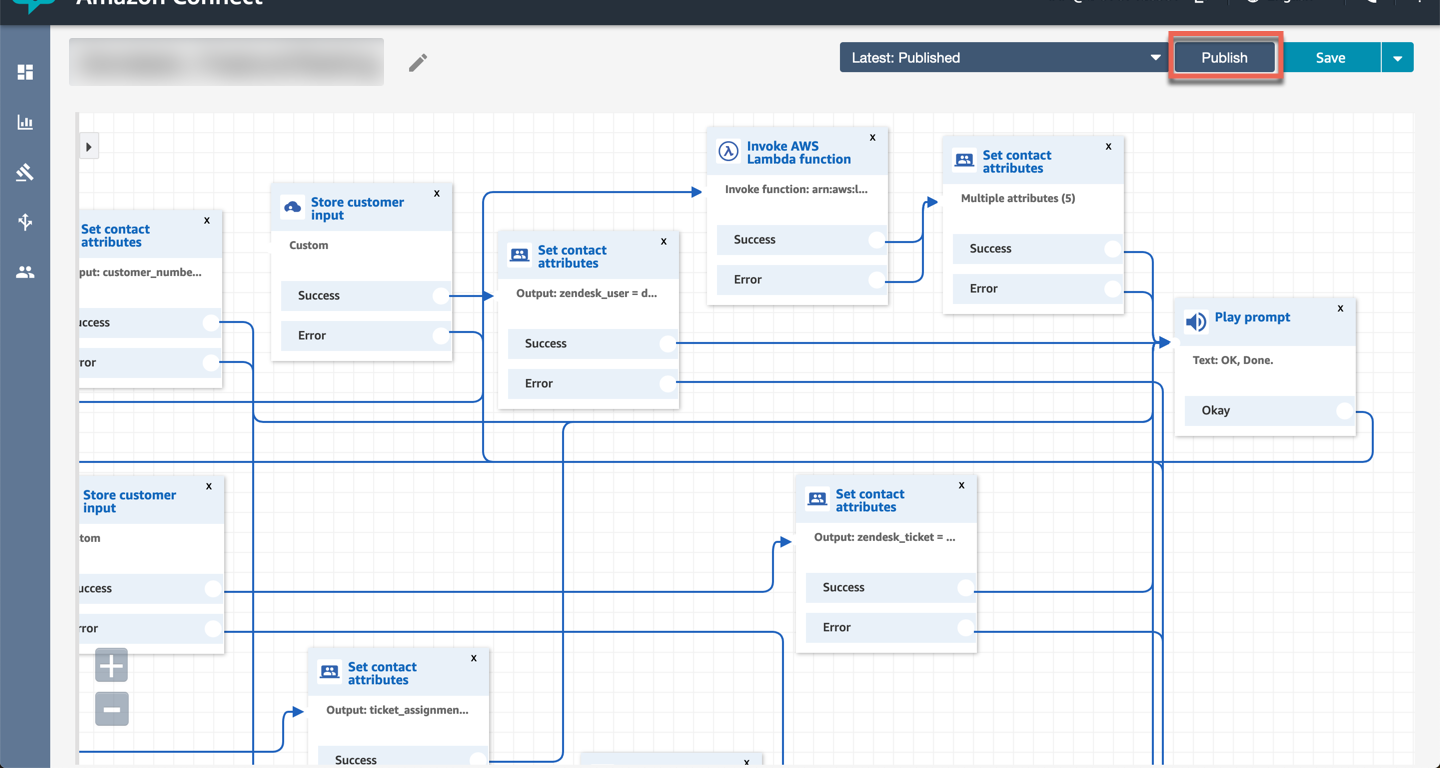
Go to you contact flow. Click on Integrate and drag and drop the Invoke AWS lambda function block onto your contact flow.
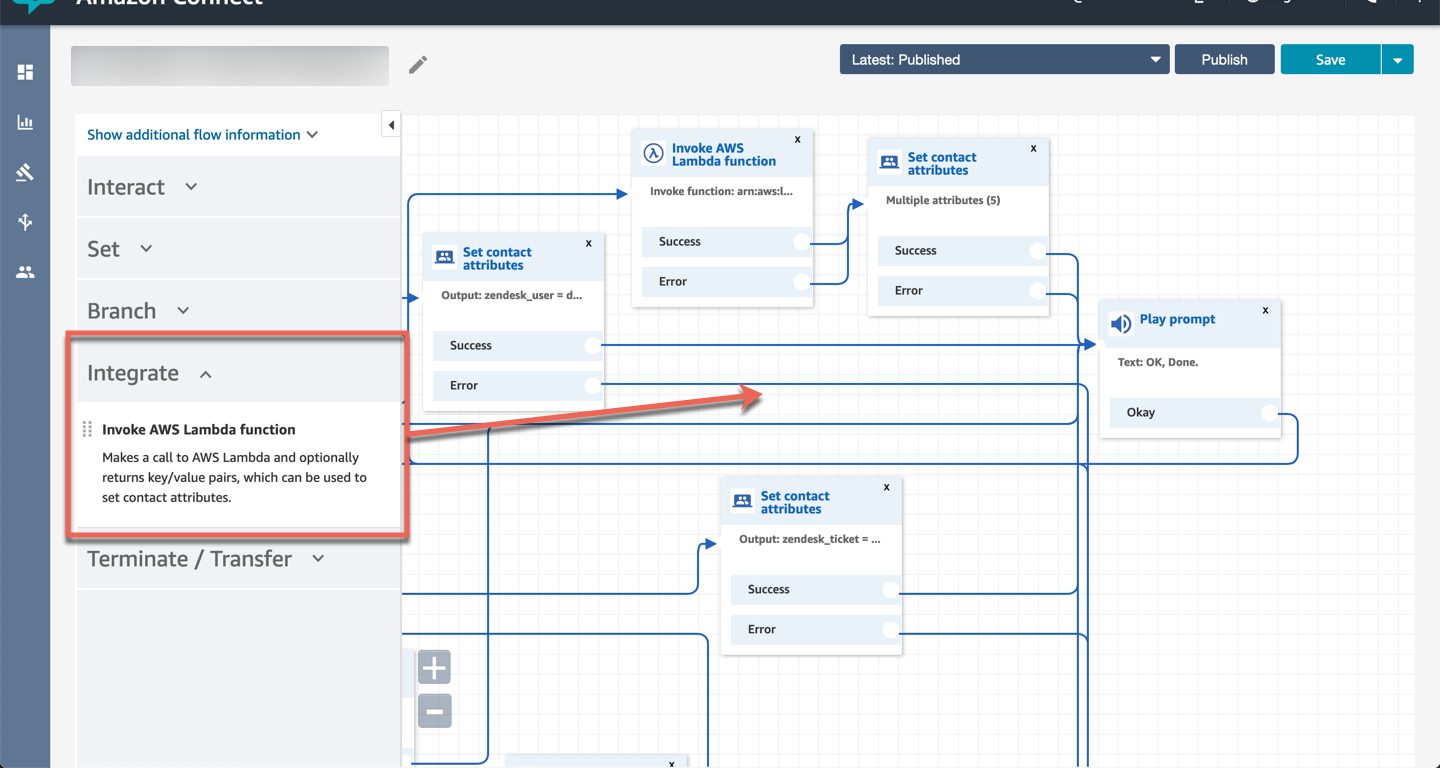
Click on the Invoke AWS lambda function block, select the lambda that was created during your stack and then click Save. Note, if you’re using the provided contact flow module, you need to update the lambda reference there in the same way.
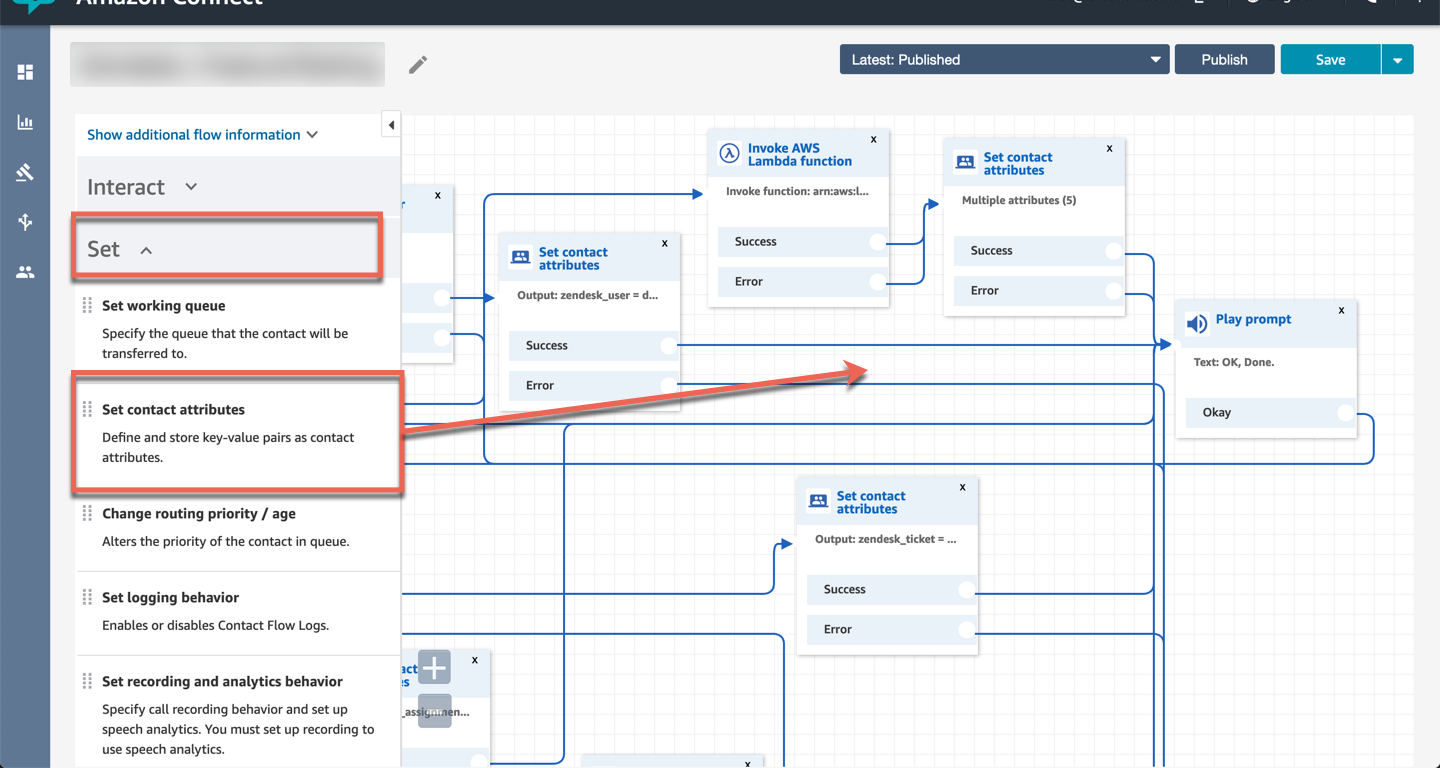
Click on Set and drag and drop the Set contact attributes block onto your contact flow.
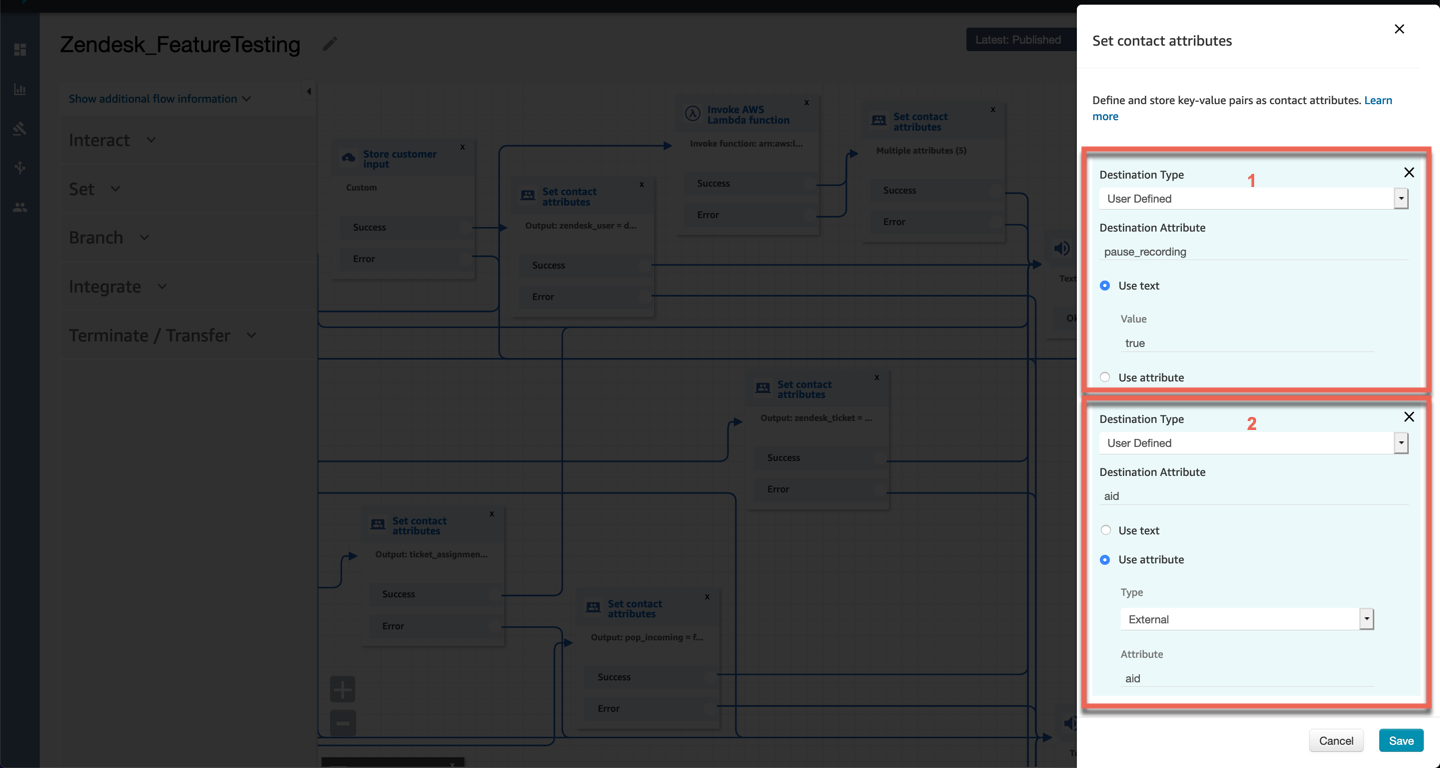
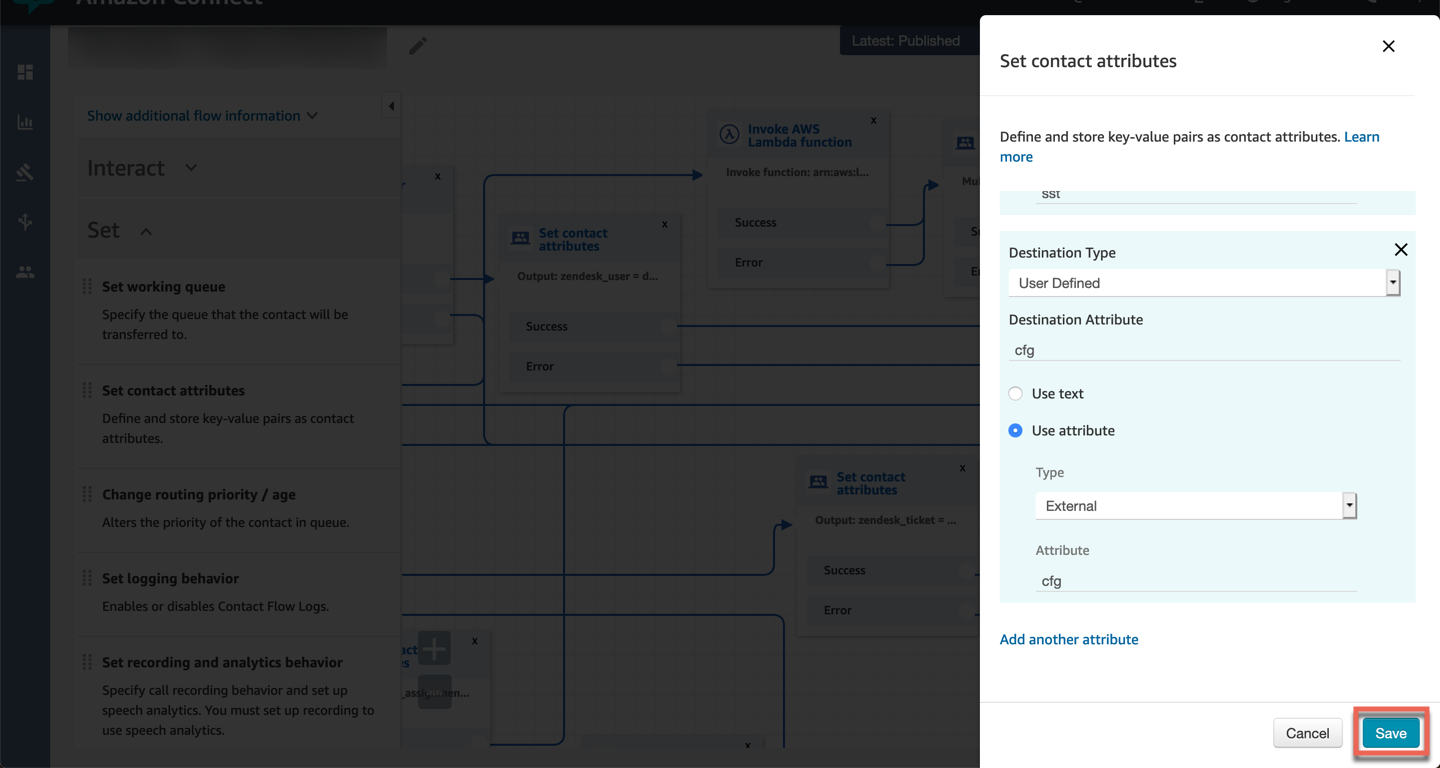
Click on the Set contact attributes block, and add the following (5) contact attributes.
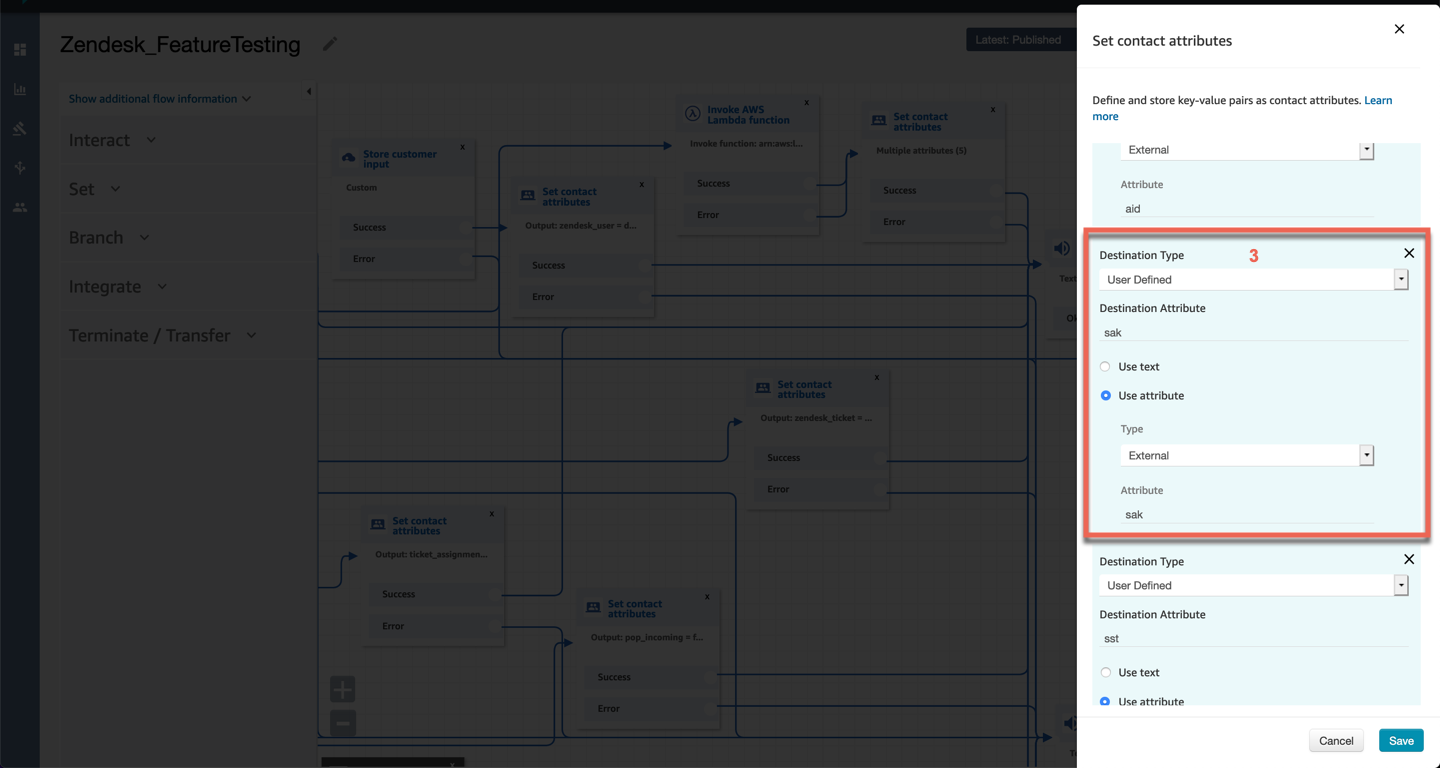
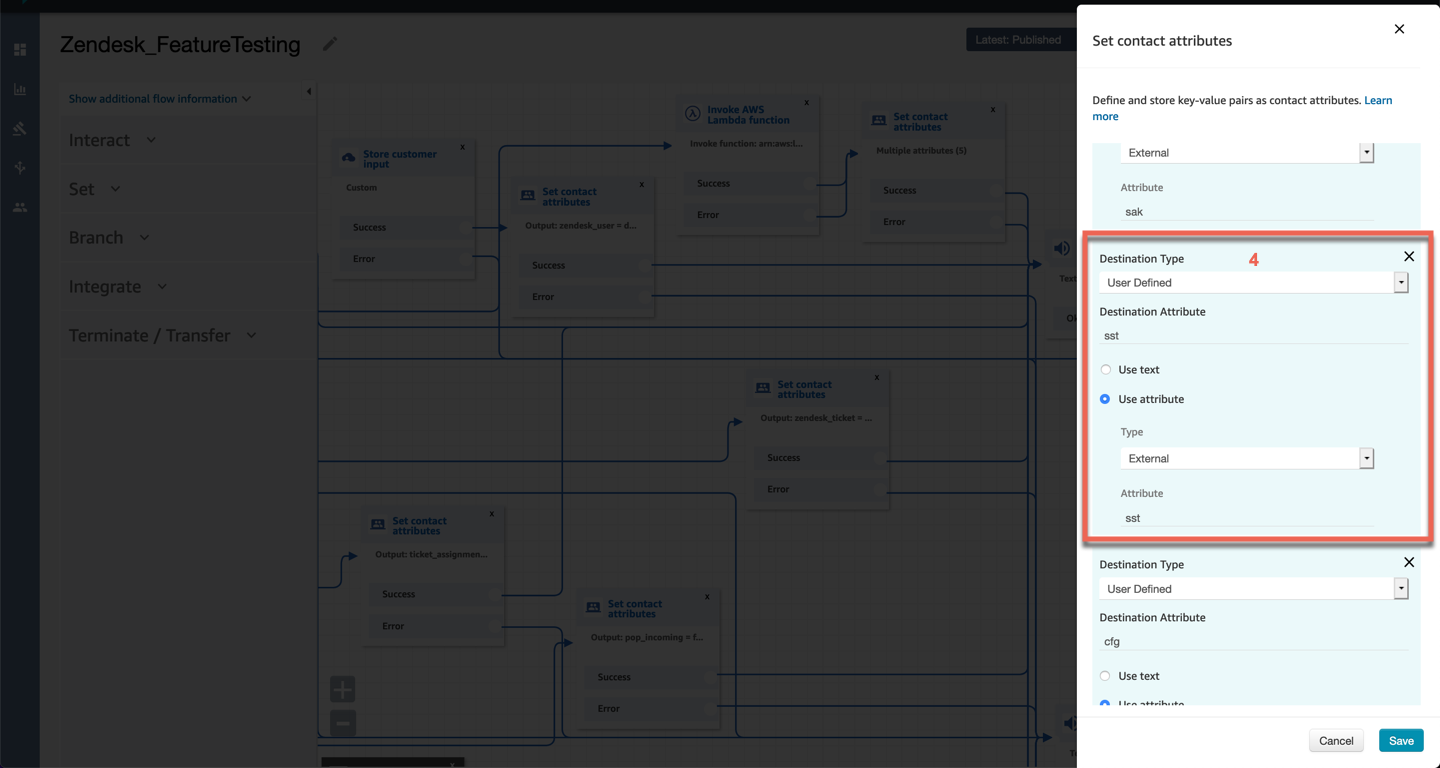
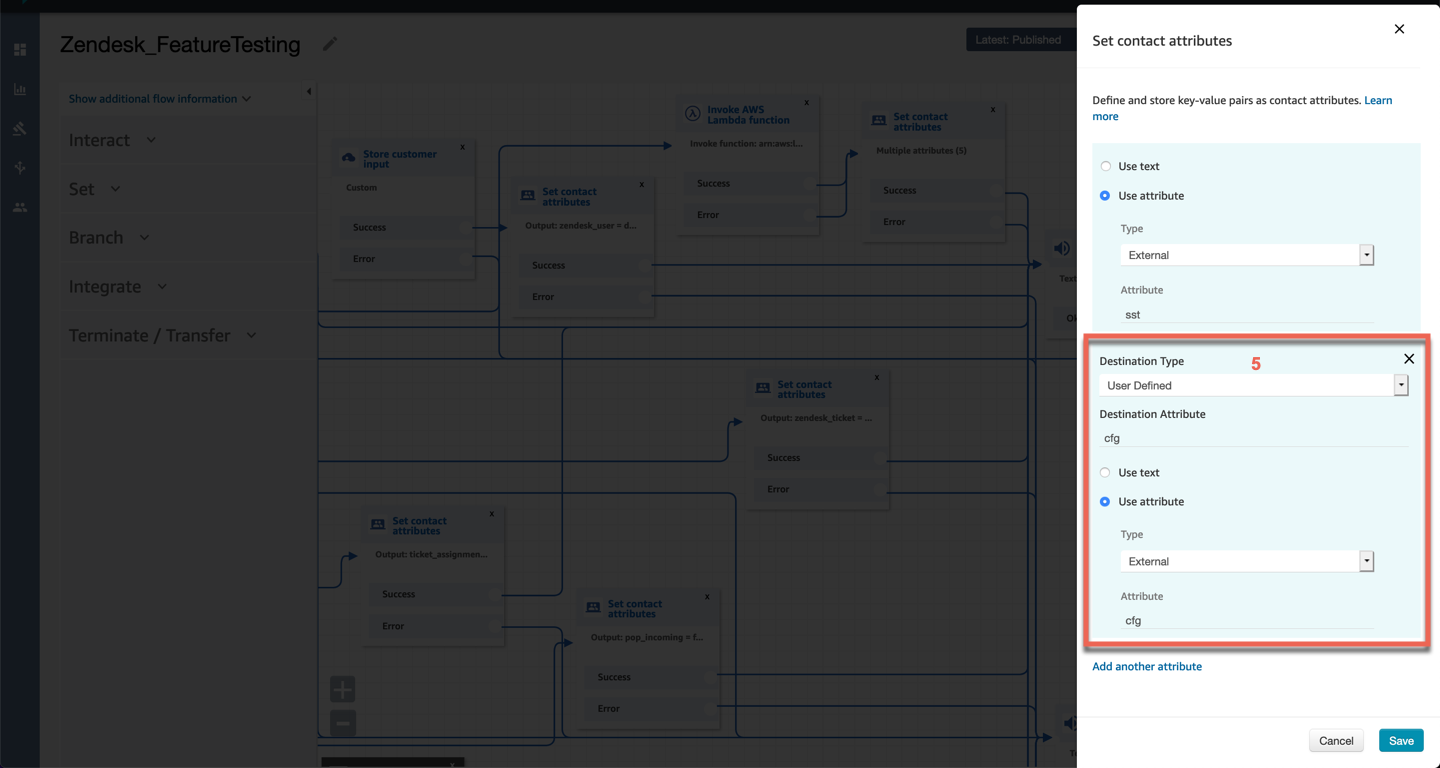
Click on Save.
Connect the lambda block and the contact attribute block as per the below.
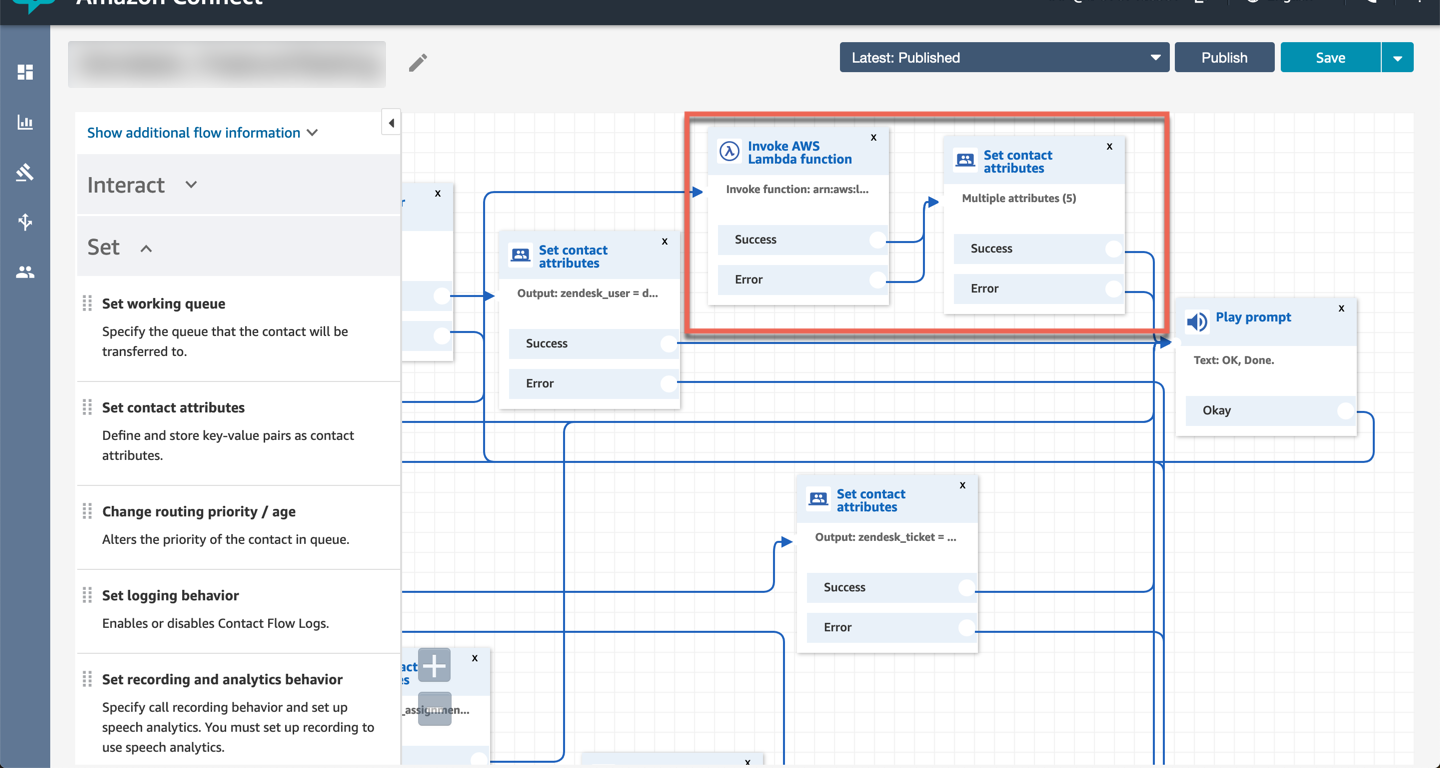
Publish your contact flow to save your changes.
User guide
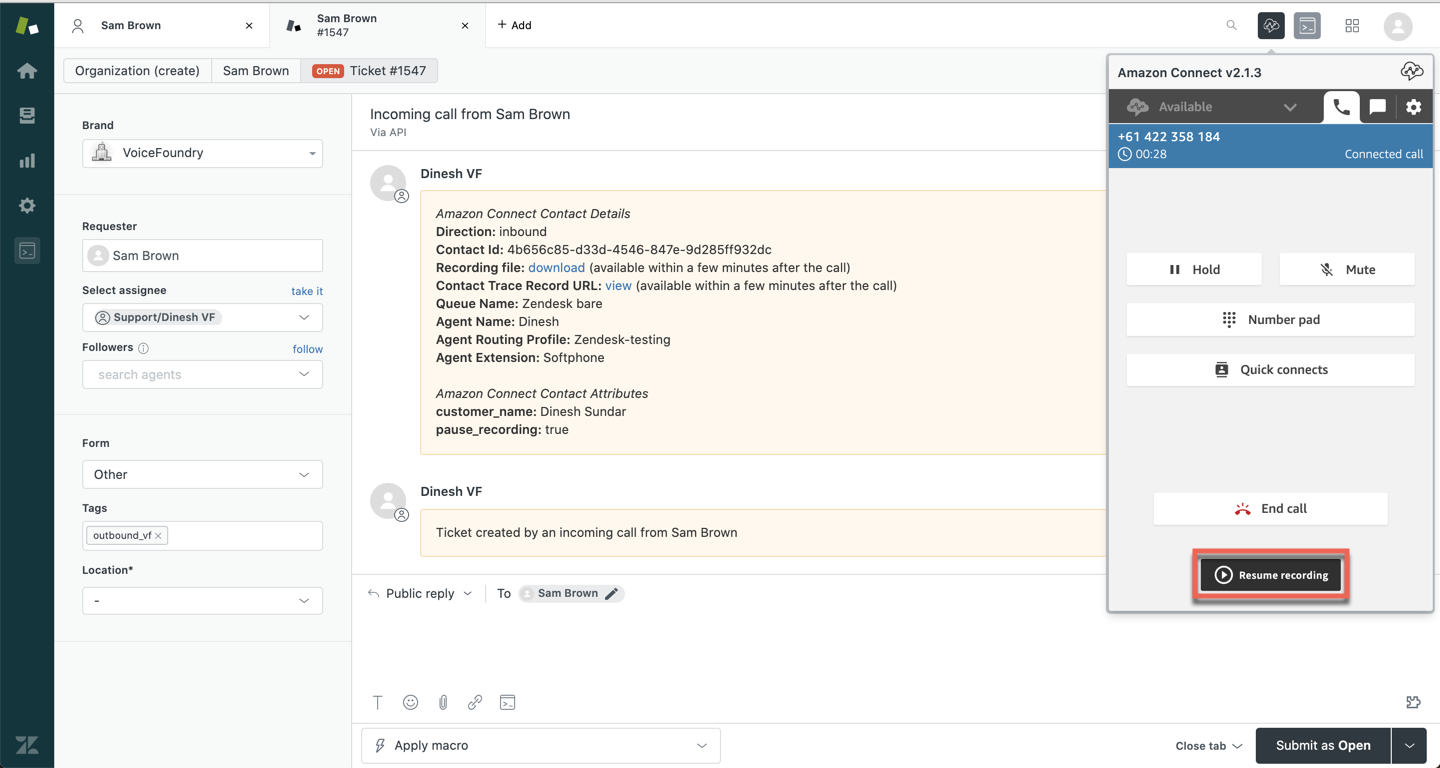
Once an agent is connected with a caller, they can pause the call recording by clicking on the Pause recording button within the softphone.
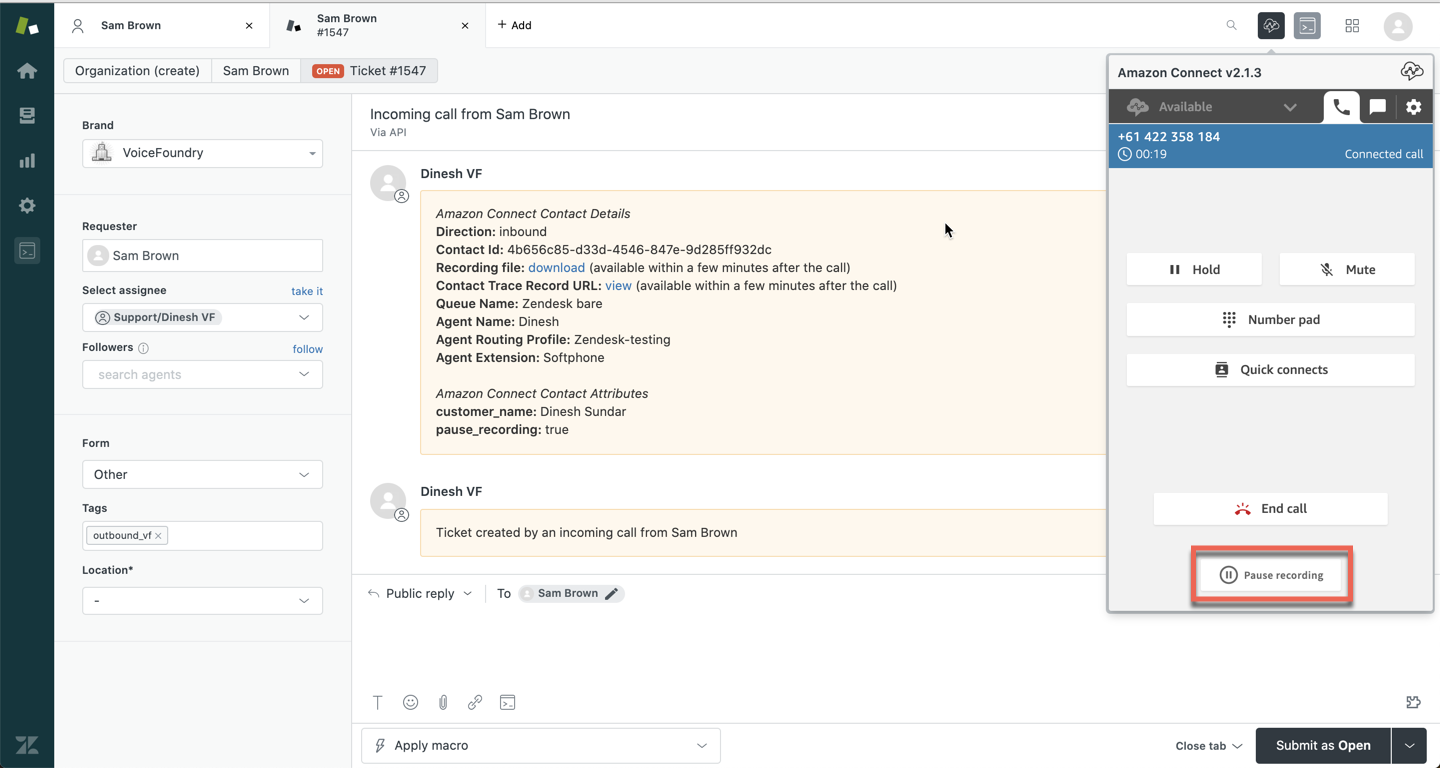
To resume a call recording, click on the Resume recording button within the softphone.